

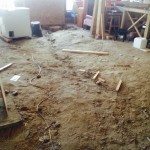
A section of my 2000 square foot floor.
This experiment is in search of an affordable floor. At 2000 sq/ft, a 4 inch thick floor is about 25 yards, 3 truckloads of concrete, about $3K in concrete, delivered.
A week rental on a concrete sander prices out at about $1000.
So – the hard DIY price on a sanded concrete floor is $4k. Since I have a mountain full of dead wood – maybe I can find a cheaper solution…
Other goals are aesthetic and thermal. Polished concrete, is cold on the feet. Ideally, the floor will have enough R-value to insulate warm feet from the earth’s 55 degrees when it’s warm, but not so much that when that it blocks the indoors from the earth thermal mass under the floor.
A wood-like finish is another goal. Ideally the result will be a “sand-able floor” with an R-value of 3-4.
After the forest fire, I have a LOT of dead standing trees. and wood chips are nearly free. The cost to produce about 30 cubic yards is about $300 to rent a chipper for a day. The thought is to use those wood chips as the bulk material for concrete.
Expriment 1:
Batch 0 – A pile of wood chips with some gray cement mixed in.
Wetted Wood Chips + Cement
Lessons:
- Need filler to suspend cement, otherwise it will settle to the bottom and not hold chips
- Cement did not set for some reason.
Result: Dumped out bucket of wood chips the following morning with semi-set cement layer at the bottom of the bucket. Cement paste-hard and did not set.
Experiment 2 & 3

pH test of soaker bin showing very acidic character of wood chips. This is probably why the cement would didn’t set.
Batch 1 – Wetted wood chips with sawdust + reinforcing fiber
- Cement suspended by sawdust (success)
- Too wet – need to reduce water
- Bubbles appeared on top. Mixture expanded like a rising loaf of bread (CO2)
Was the cement neutralized by an acid?
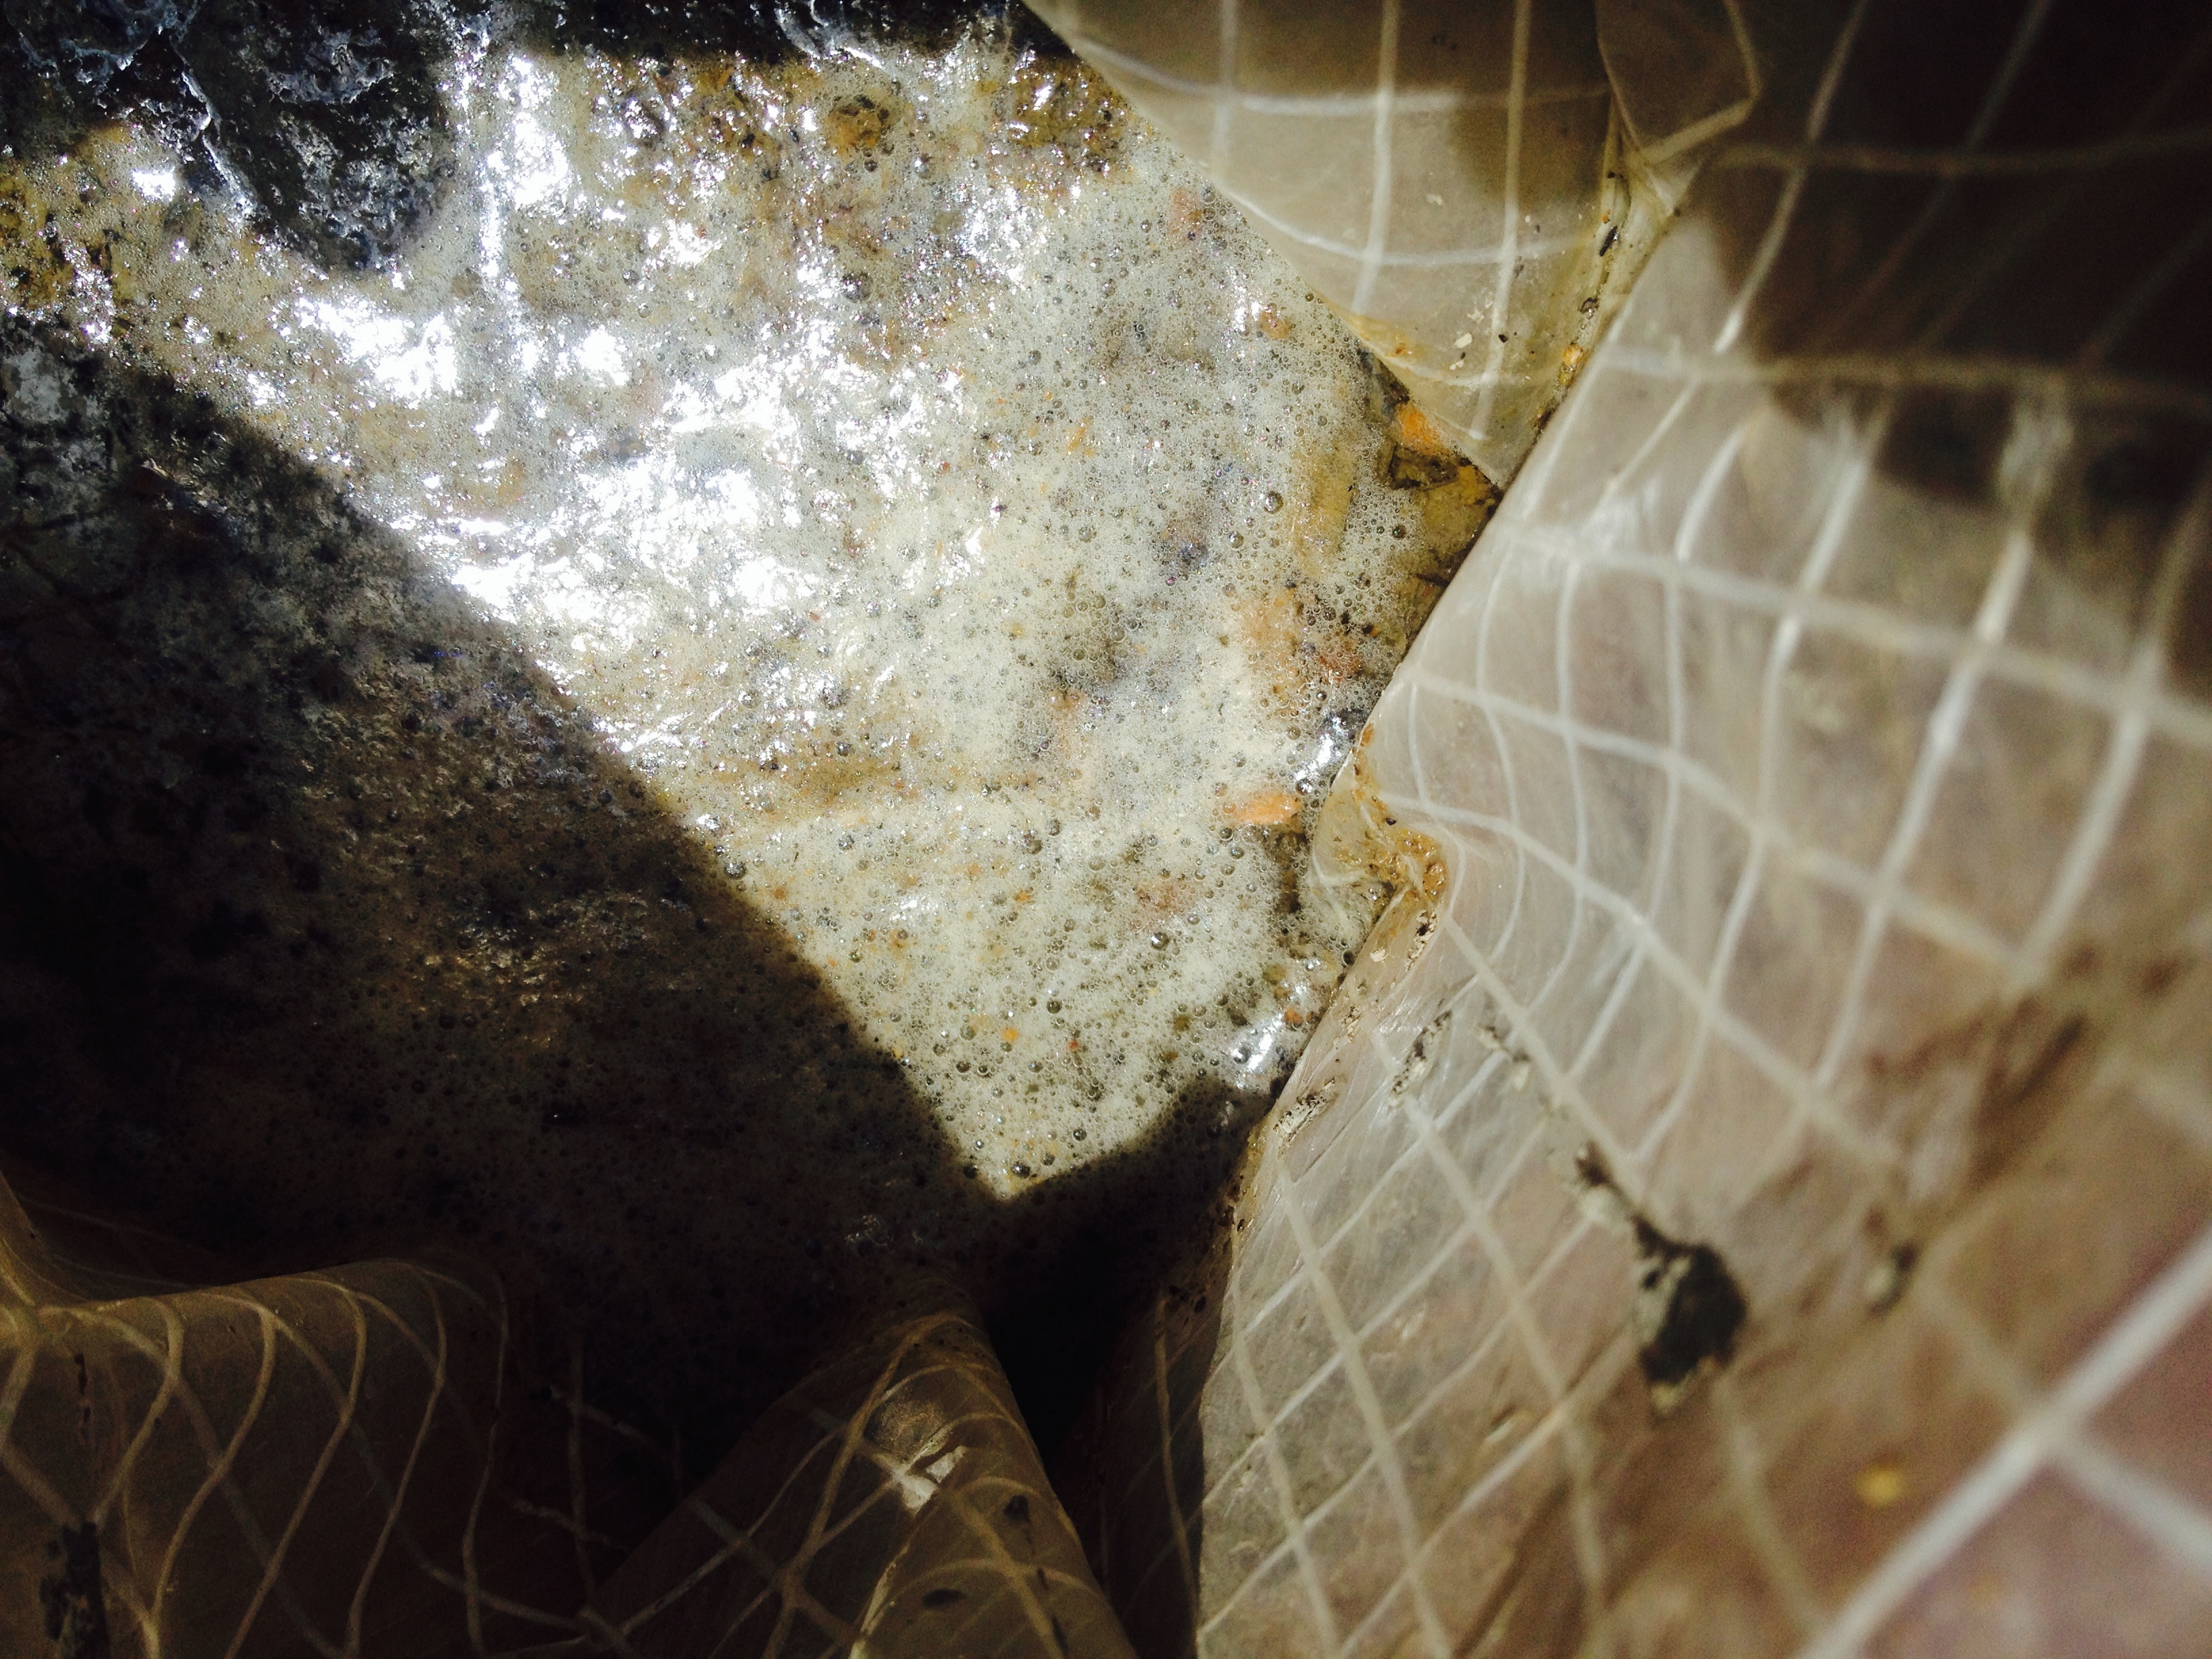
Picture of sample form showing bubbles that appeared on the surface. CO2 from acid base neutralization.
Yep… The pH of of the soaking hopper was about 4.5 – very acidic. Cement is very alkali. The wood acid was neutralizing the reaction and creating gas bubbles in the mix.
Both were problems. This was probably why the cement in the Experiment 1 never set up. There was enough acid released from the wood to neutralize/inhibit the cement chemistry.
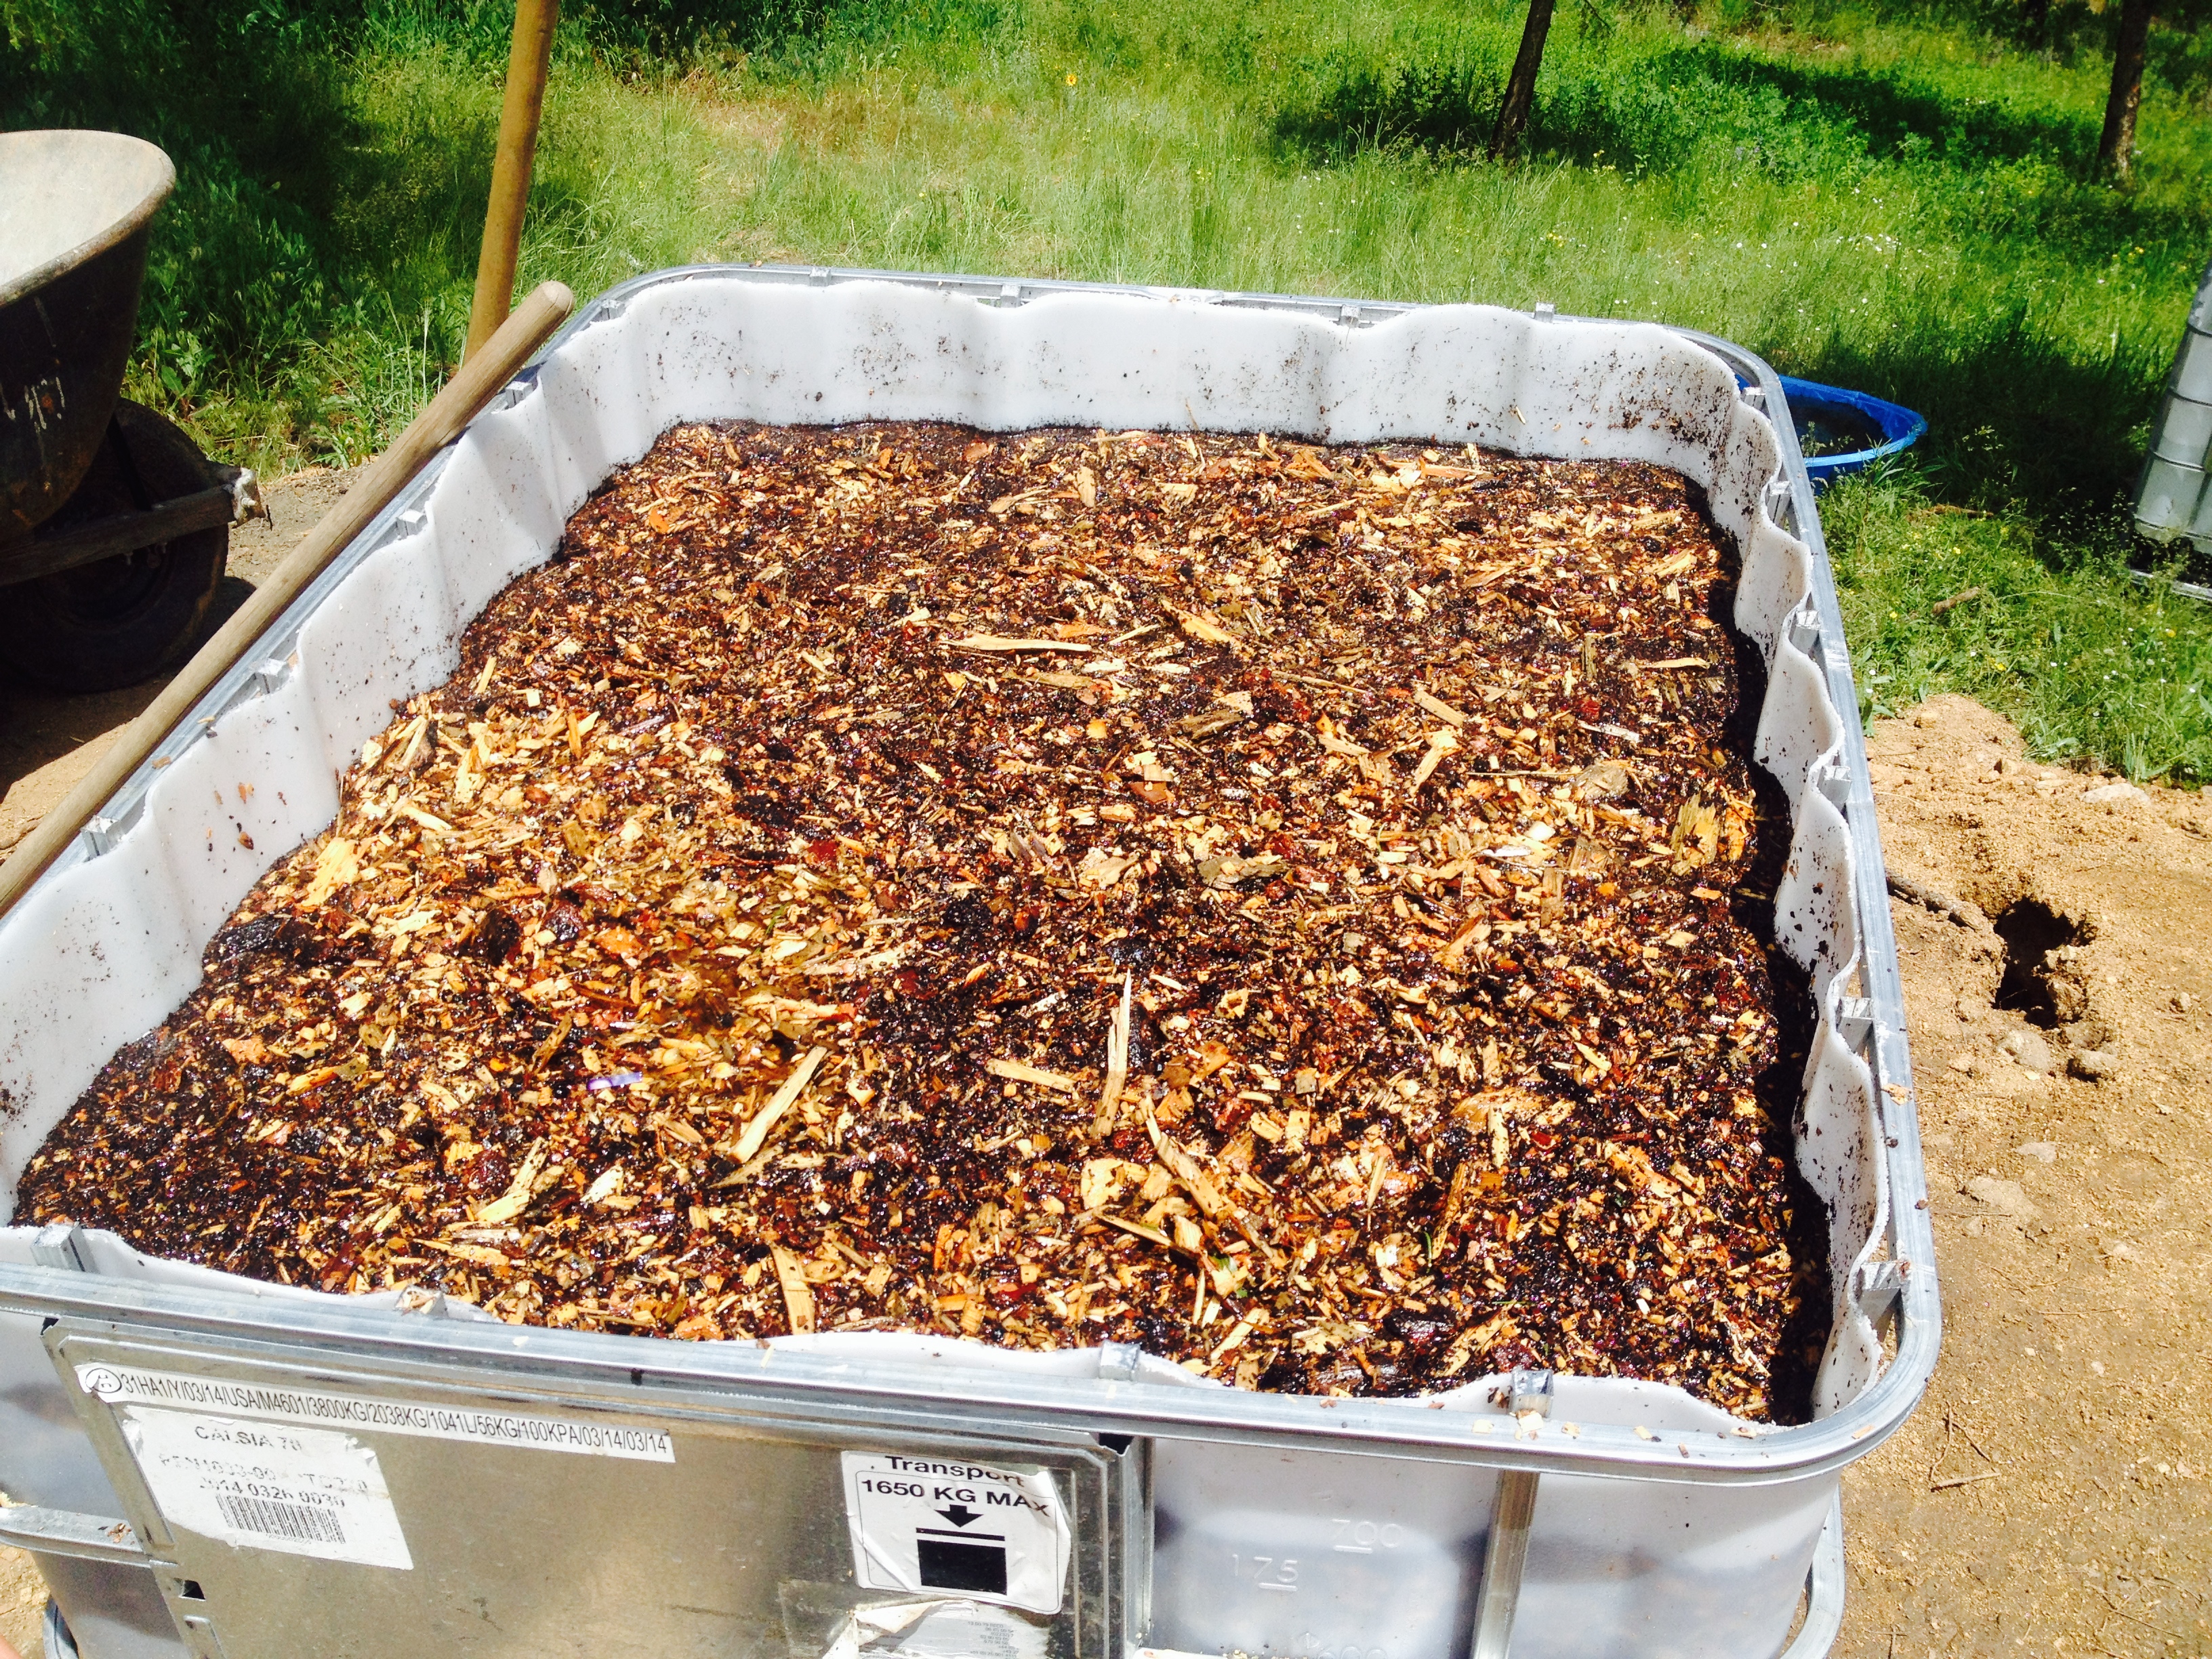
Soaking hopper – IBC tote full of water-logged wood chips.
A bigger problem is probably that only part of the bubbles were coming out of the surface. If the mix cured – it would be full of bubbles and probably weak.
By the way all of these are in the standard concrete recipe:
- 3 part chips (instead of gravel)
- 2 part sawdust (instead of sand)
- 1 part cement
- Water to dense slurry with workable surface
Experiment 4
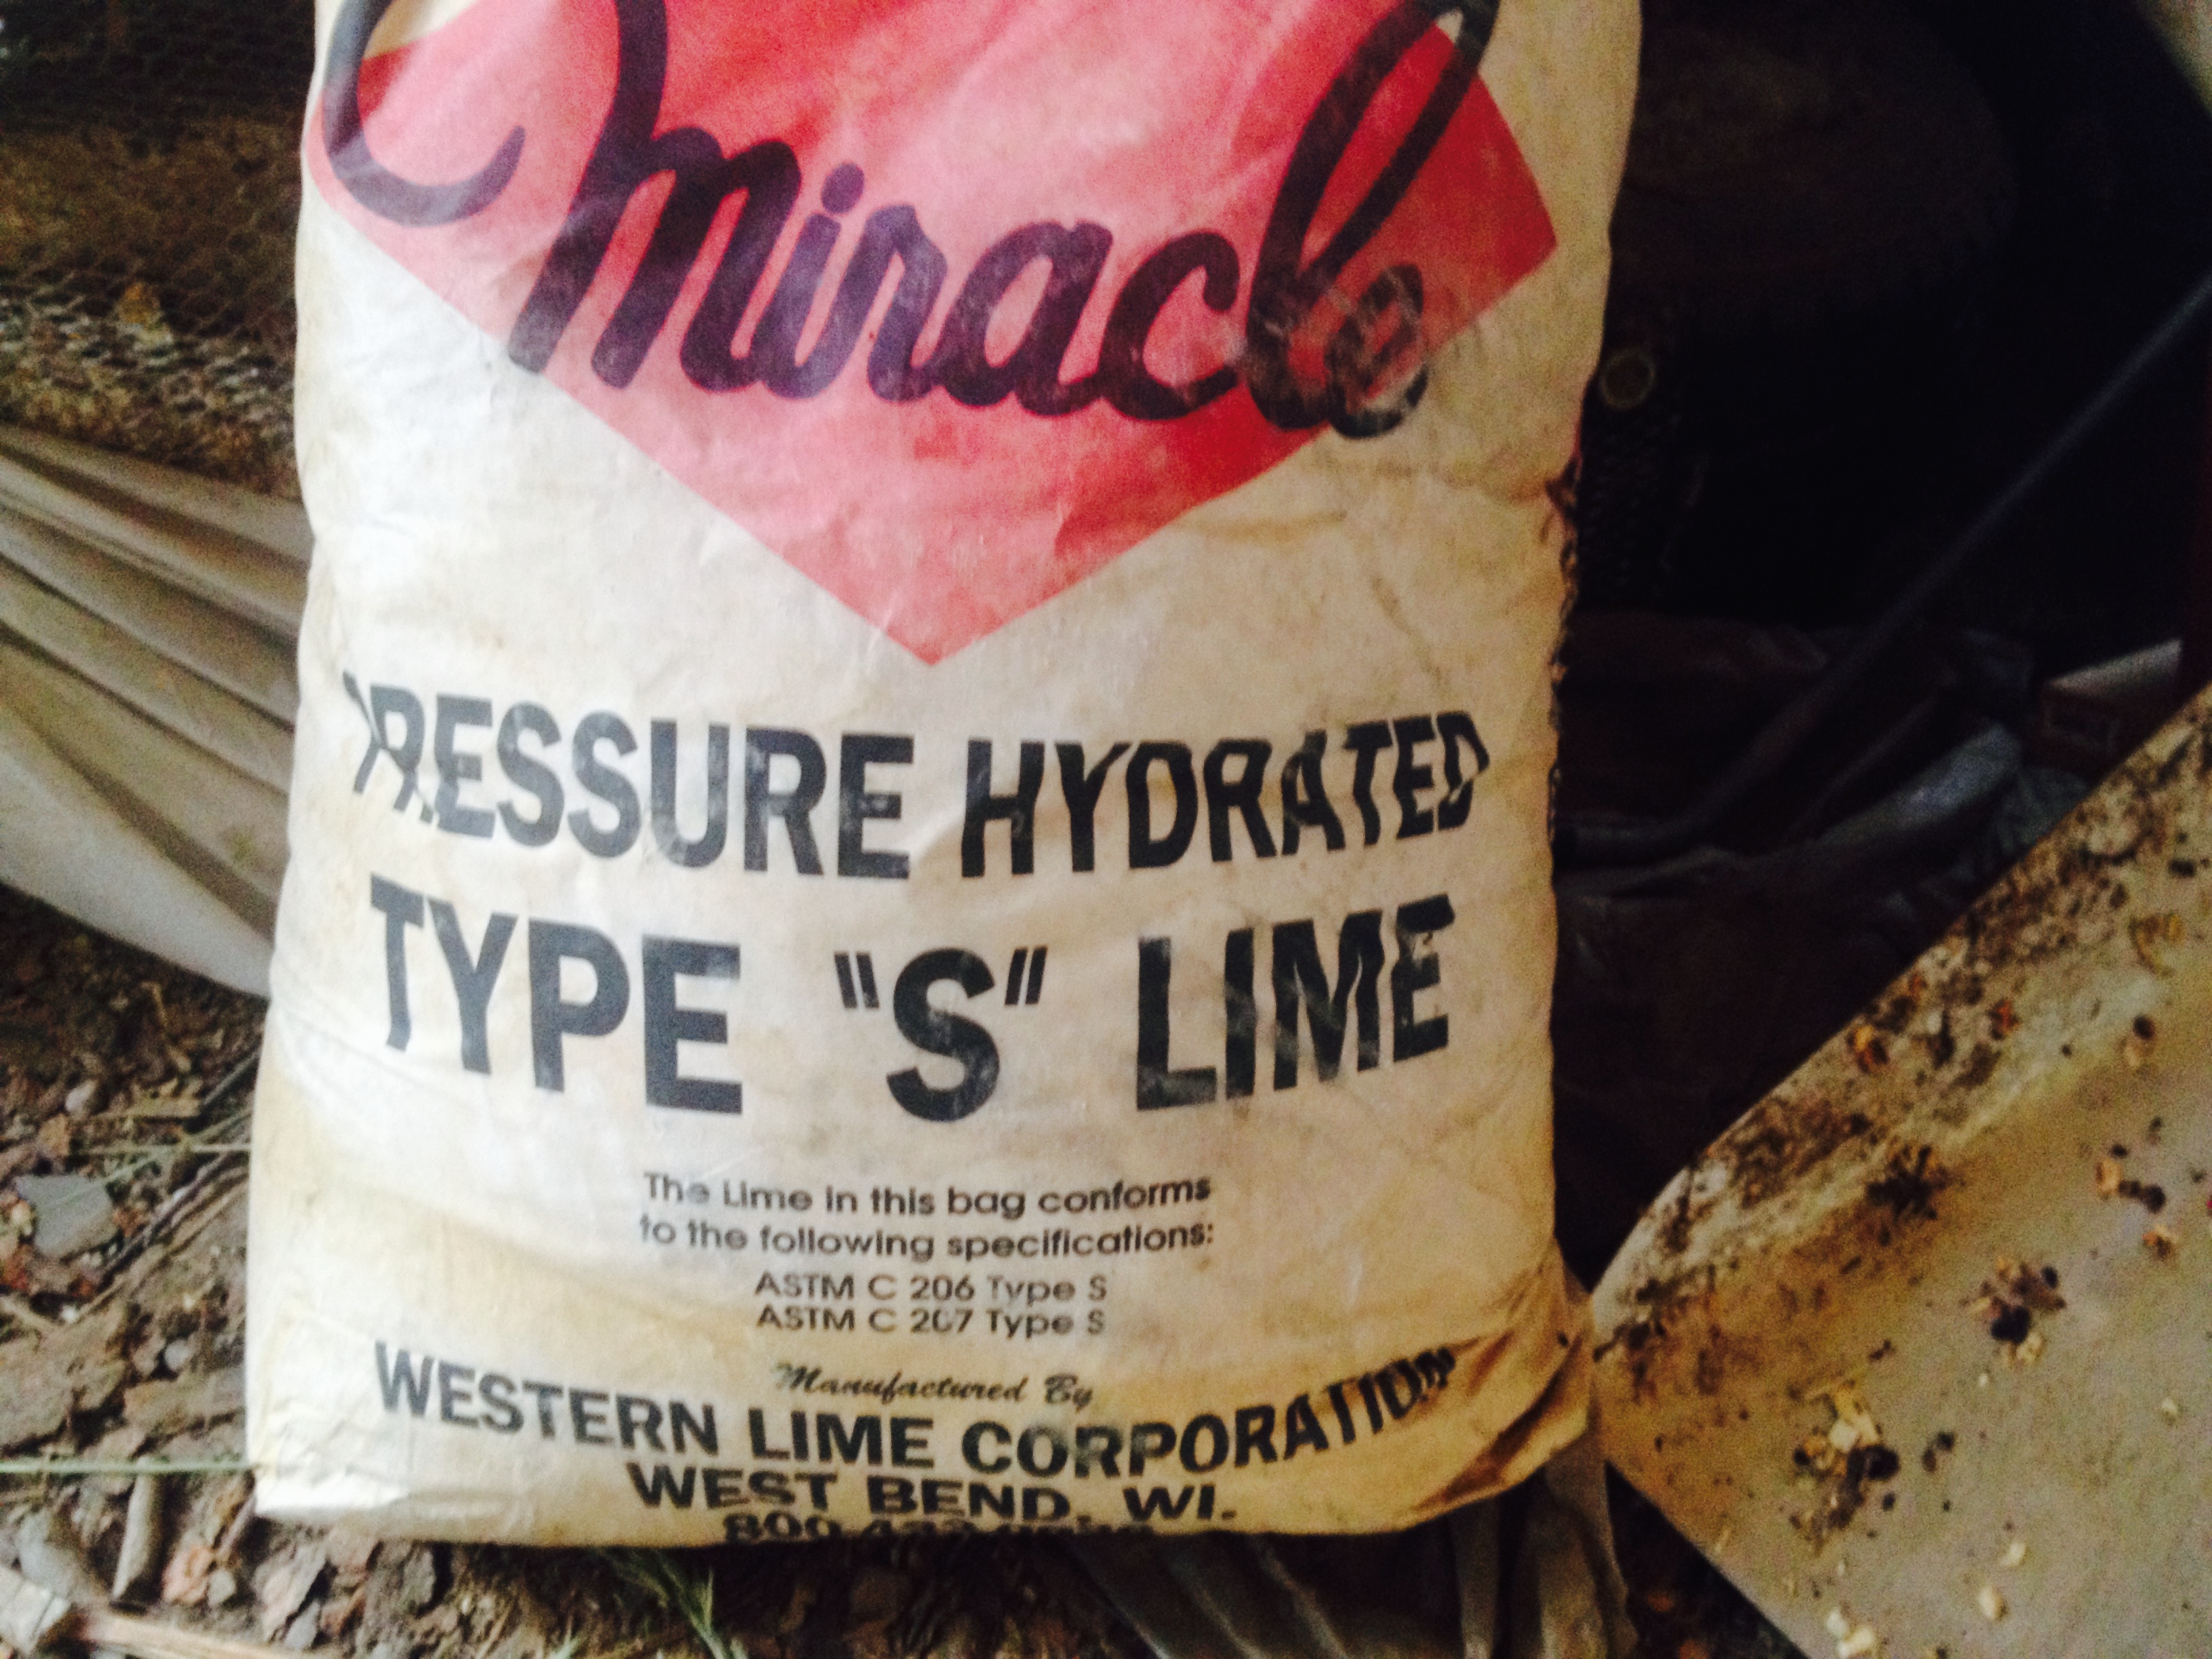
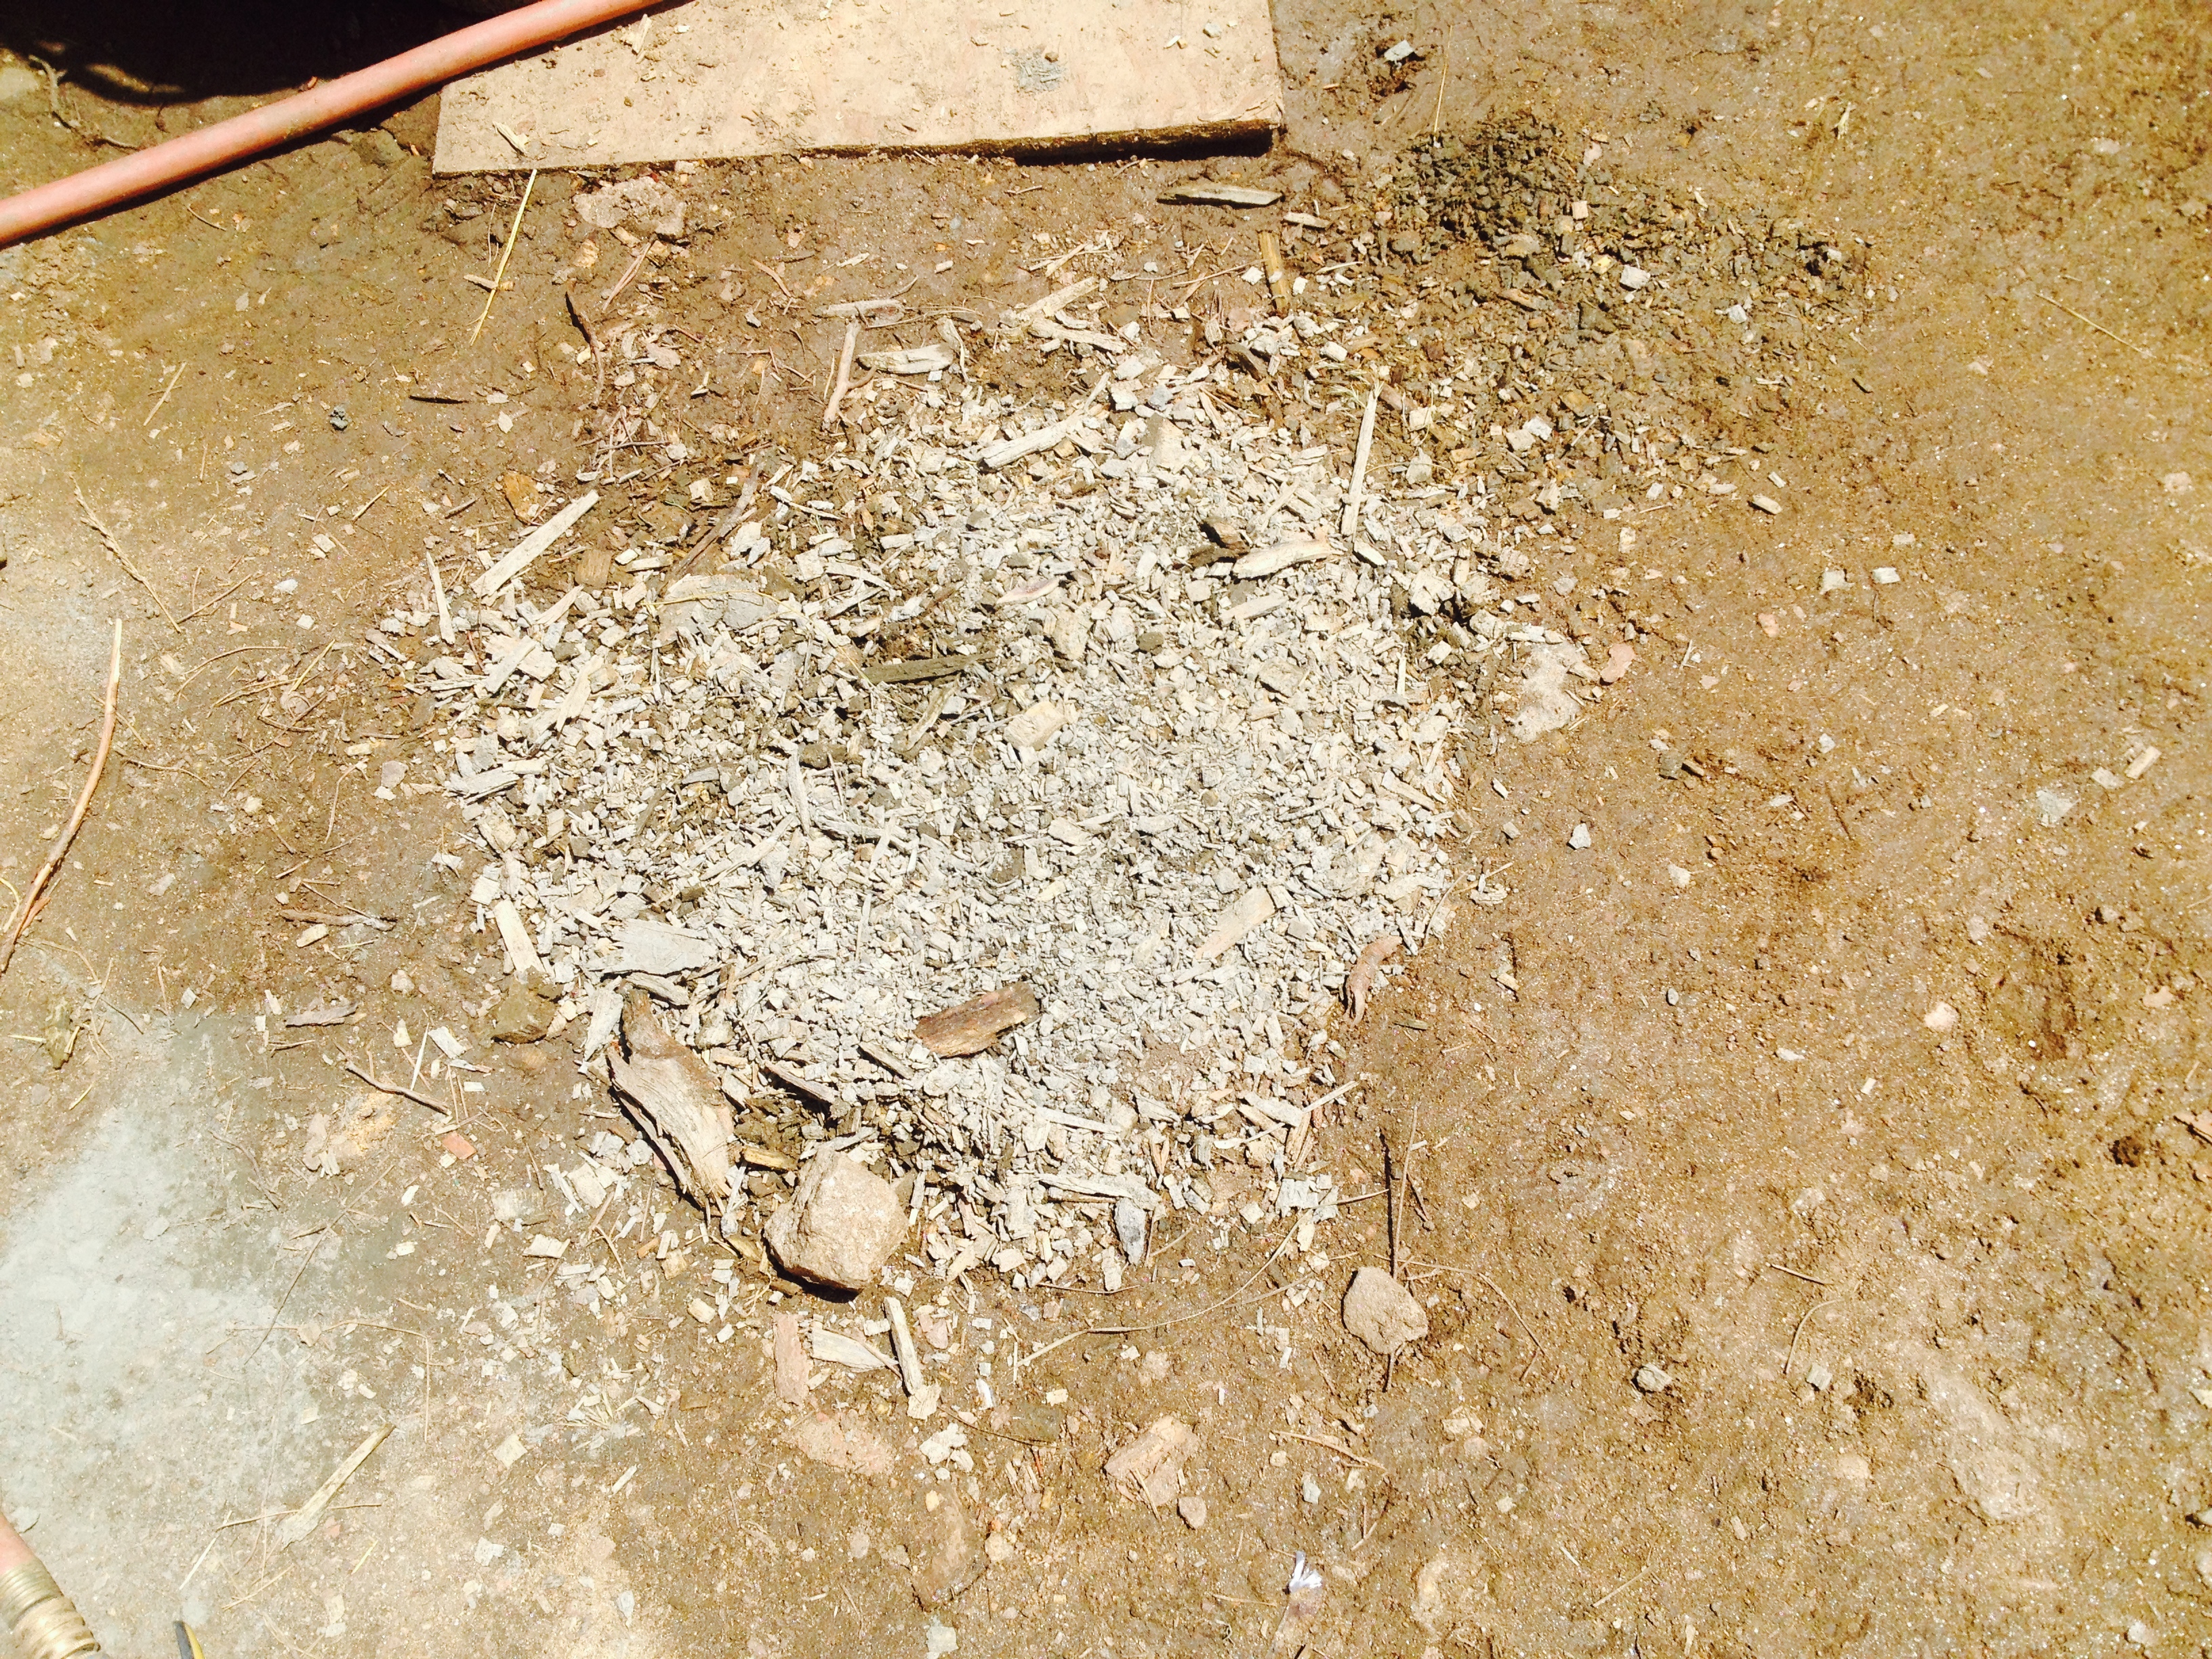
My reserve bag of agricultural lime.
How could I neutralize the wood acid… Searched the internet for wood chip cement and found these references.
Both these pre-processed the wood chips with an alkali substance, specific quicklime or MOP.
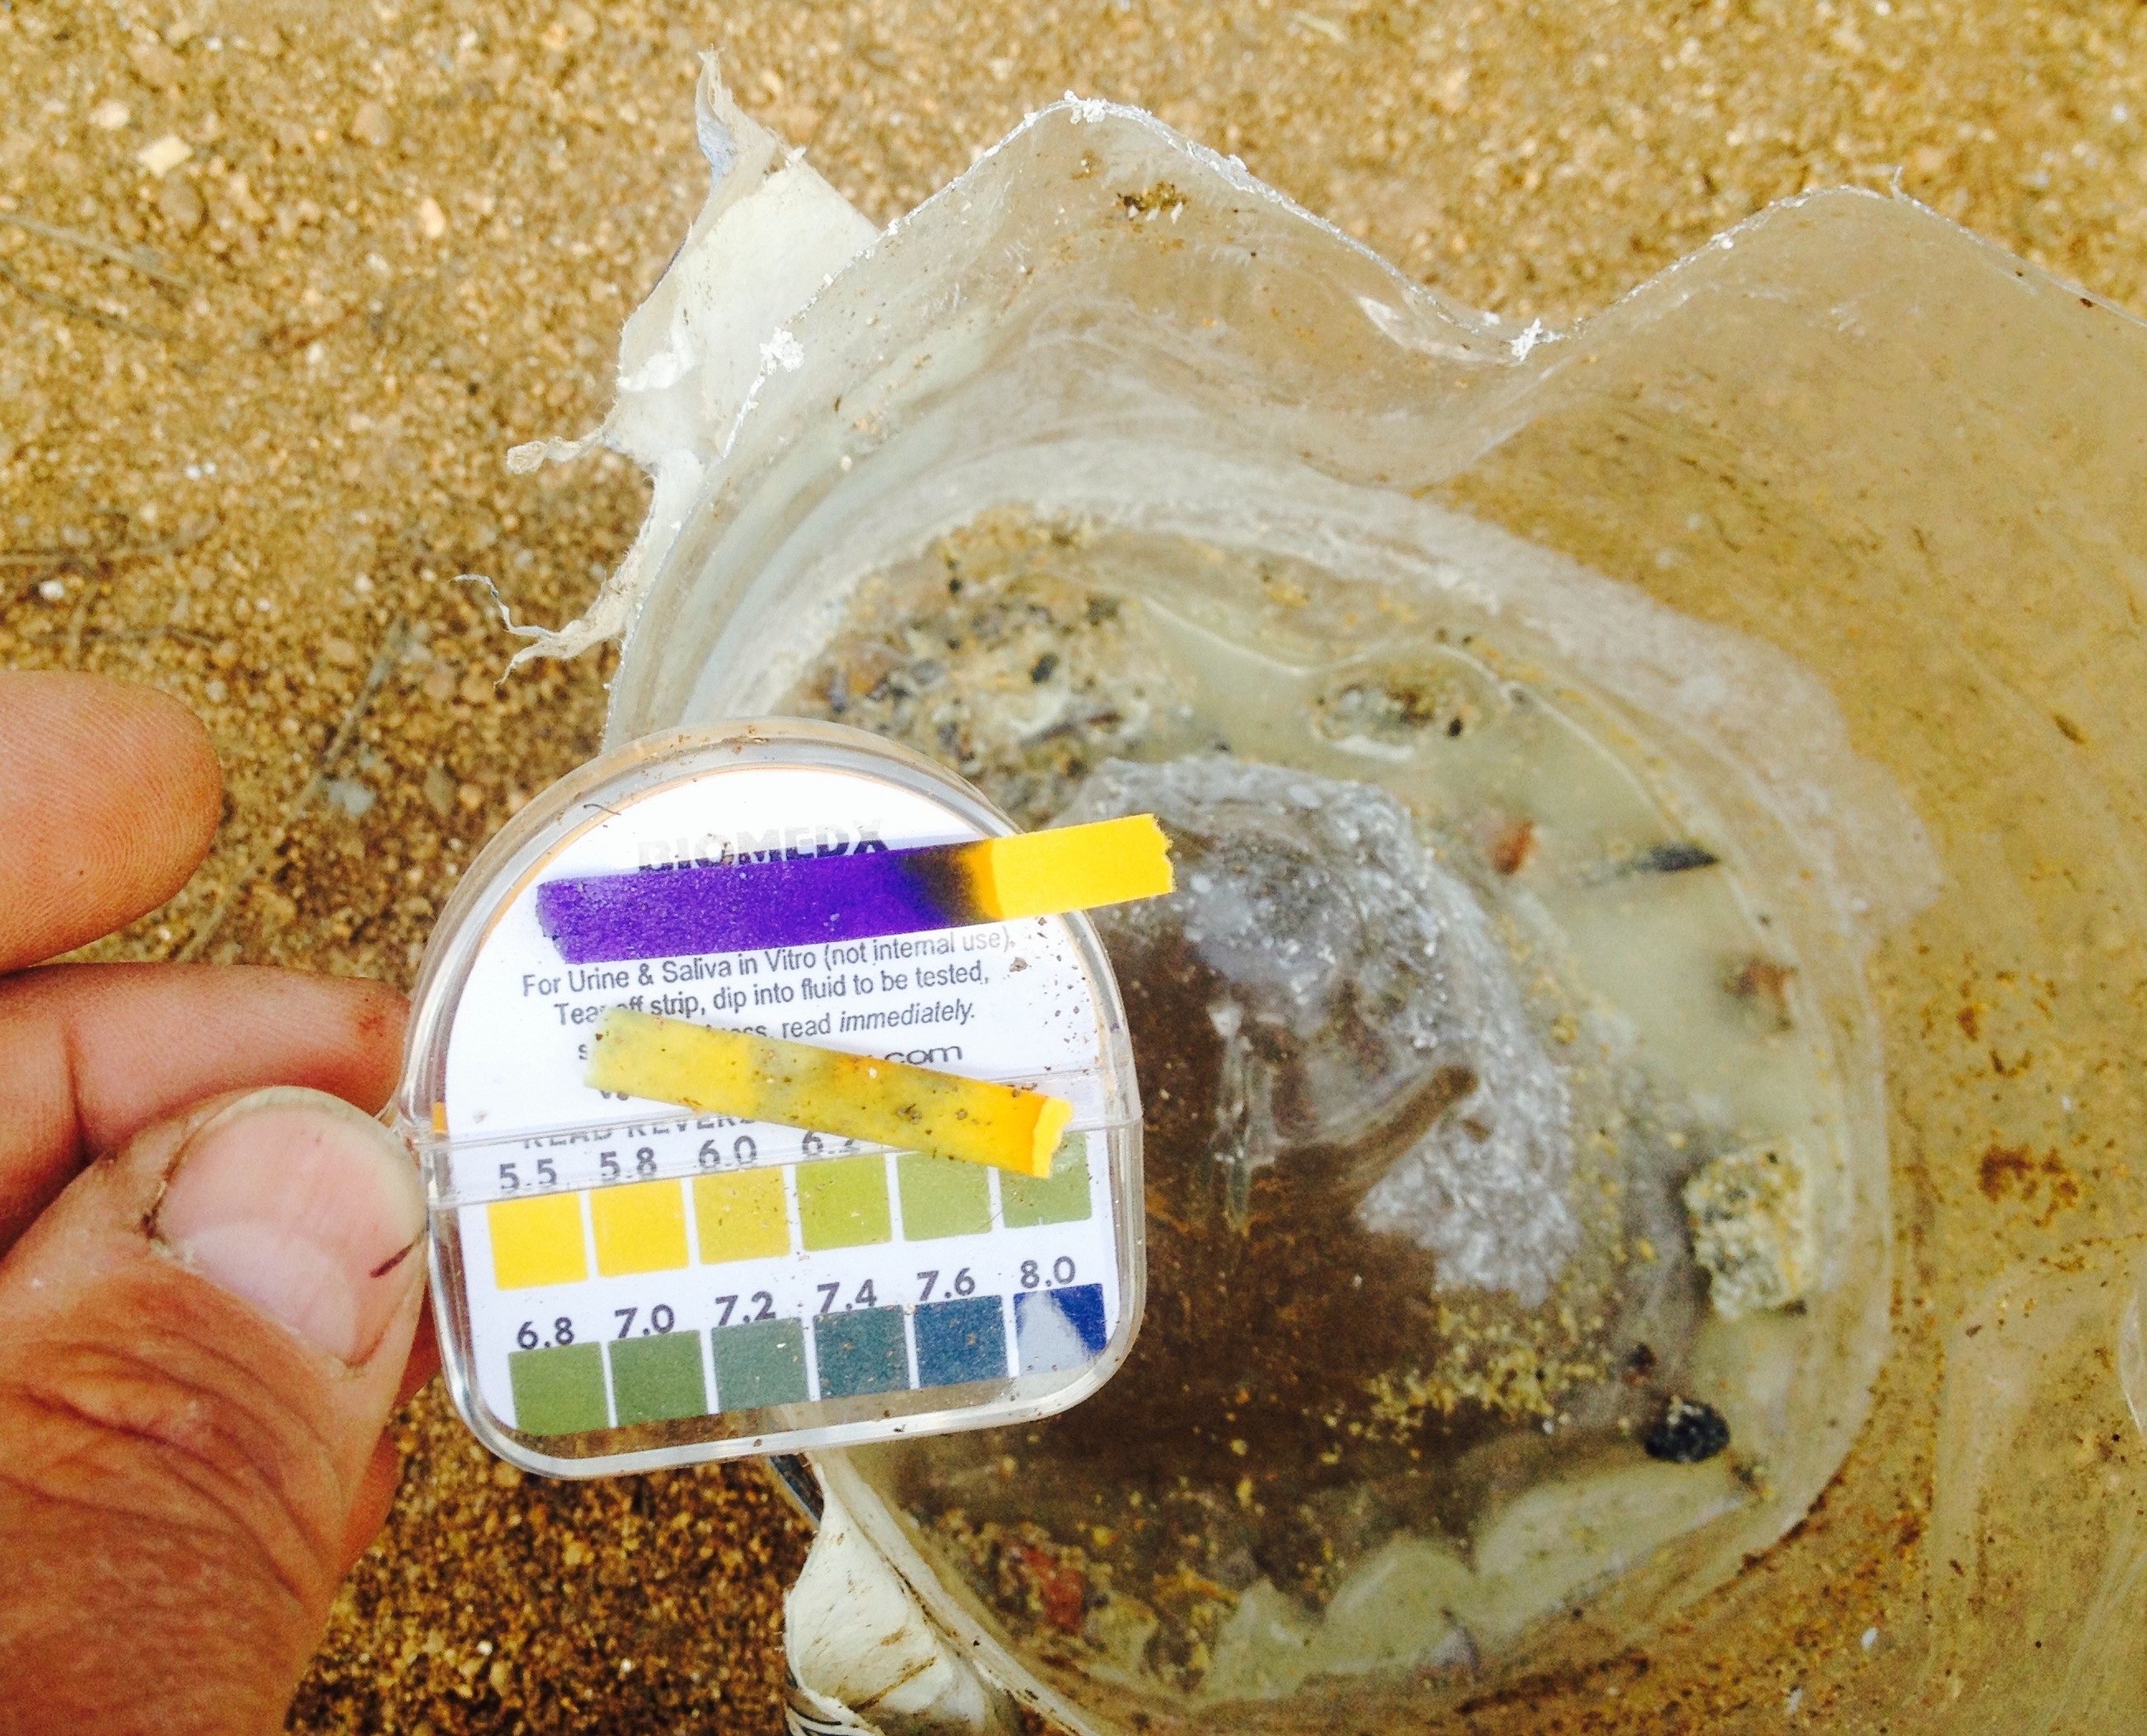
pH and sample of wood chip and lime. Note bubbles in sample and deep-blue alkali pH > 8 on test strip. No more acid.
Lets try that!
- Wood chips & sawdust into wheel barrel
- 1 part agricultural lime
- Mix wet wood chips & sawdust with lime so lime coats the particles (concept is to apply alkali to surface of wood to neutralize organic acids (tannins, etc.). The lime is very sticky and adhered well.
- Handful of cement reinforcing fiber
- 1 part cement
- Water to mix to slurry.
- Put into experimental form
Waited 20 min to inspect for bubbles. No bubbles in the cement this time. The mixture is warm to the touch and appears to be curing.
Back to the math. A 80 lb bag of cement is about $11 at Home Depot, and each bag is good for about 6 cubic feet versus 27 cubic feet per yard. This means each cubic yard of concrete will require about 5 bags = $55 in cement. Oops!
Concrete delivers at about $90 dollars per yard – the math just blew up. When the DIY materials get to about half of the easy way – the experiment is in trouble. This happened when the batch size went over about 7 yards.
The cement cost alone is so high that wood chips don’t make sense It’s not worth the work to save $35 per yard cutting, chipping & mixing!
In the ongoing analysis of buy vs build – Buy wins this race !
Chipcrete report:
Well it’s the morning after. The first two experiments are pretty mushy – and puffed up like loaves of bread. The acid/alkali is definitely an issue.
The other two, batch 3&4, with acid neutralized by lime are firm but not fully set. I’ll let them cure another 24 hours in the sun to see if they produce a usable material.
My feeling is that for small jobs less than 4 yards, the chipcrete may be viable – presuming it cures to a product hard enough to walk on.
Presuming the last two experiments cure, the high pH (alkali) means that the wood definitely will NOT rot. Each chip is encapsulated in a cement shell with a pH in the range of 10. This is a very inhospitable environment for mold/yeast/fungus which would break down the wood. I guess this is why the europeans consider chipcrete a long-term 200-300 year building material.
3 comments
Thanks for doing the legwork Mark. It’s still a good option for those who want to save some money, and have a lot of time and wood on thier hands. I really like the nail and screw embedding factor of this material.
Maybe mix it with a plastic elasticizer, and spray for the graywater cell wall as extra resilience against movement from root force.
Plus a nice option for vertical surfaces, leave the wood exposed and add a wood stain plus be able to hang pictures.
Try using HempCrete instead, made from Lime dust, Hemp and Water 🙂
Author
Yes. This was the inspiration for the recipe. But most hemp ships in container-loads from Germany – and I preferred to use a local and free resource. Hemp works well because it contains a large amount of silica, which binds to the cement. The problem with fibrous materials turns out to be moisture, they absorb water, and then swell and shrink undermining the stability of the cement bonds. This means whenever you use a porous material in an application exposed to cyclic moisture, it is very necessary to seal it to lock out the moisture otherwise it will fail in a few years.